Showing posts with label Conservation. Show all posts

Tuesday, September 8, 2015

Preserving Visual Materials at the McKay Archives - Florida Southern College


In July I had the pleasure of attending the Society of American Archivists' two day workshop on Preservation and Identification of 20th Century Visual Materials. Not only was this a great workshop on a great topic, but it was also hosted by the impressive McKay Archives on the stunning campus of Florida Southern College.

The best part of the workshop was the instructor John Waggener's impressive teaching collection of photographs. It's so hard to tell, for example, if you're looking at an Albumen POP print or a Collodion POP print just by reading a description in a book. Having the opportunity to handle and compare all the different processes side by side was absolutely invaluable. We even had the opportunity to experiment with Impossible film- the Impossible Project's attempt to recreate Polaroid's lost formula for instant film.

The second best part of the workshop would have to be the people. We had an excellent crew with representation from Disney, The Ringling Museum, Stetson University, St. Petersburg College, the State Archives, several local libraries, and our gracious hosts at the Roux Library & McKay Archives. We even worked in a little tour of the McKay Archives led by Gerrianne Schaad, which included a processing area, gorgeous moveable shelving, and a small gallery.

The third best part of the trip was running around the Florida Southern campus and frolicking among all  of Frank Lloyd Wright's designs. I'm pretty sure I entered some buildings that I was not technically supposed to be in, but the campus was all but abandoned and I did not find a single locked door. For more photos of the Archives tour and my adventure through the Florida Southern campus, enjoy the Facebook album here.

Pretty sure I'm not supposed to be here.


Monday, January 27, 2014

Removing Tape from a Dust Jacket


Another sad story of a well meaning collector trying to protect their books... with scotch tape. For the love of all that is good in this world, never "fix" your books with tape!
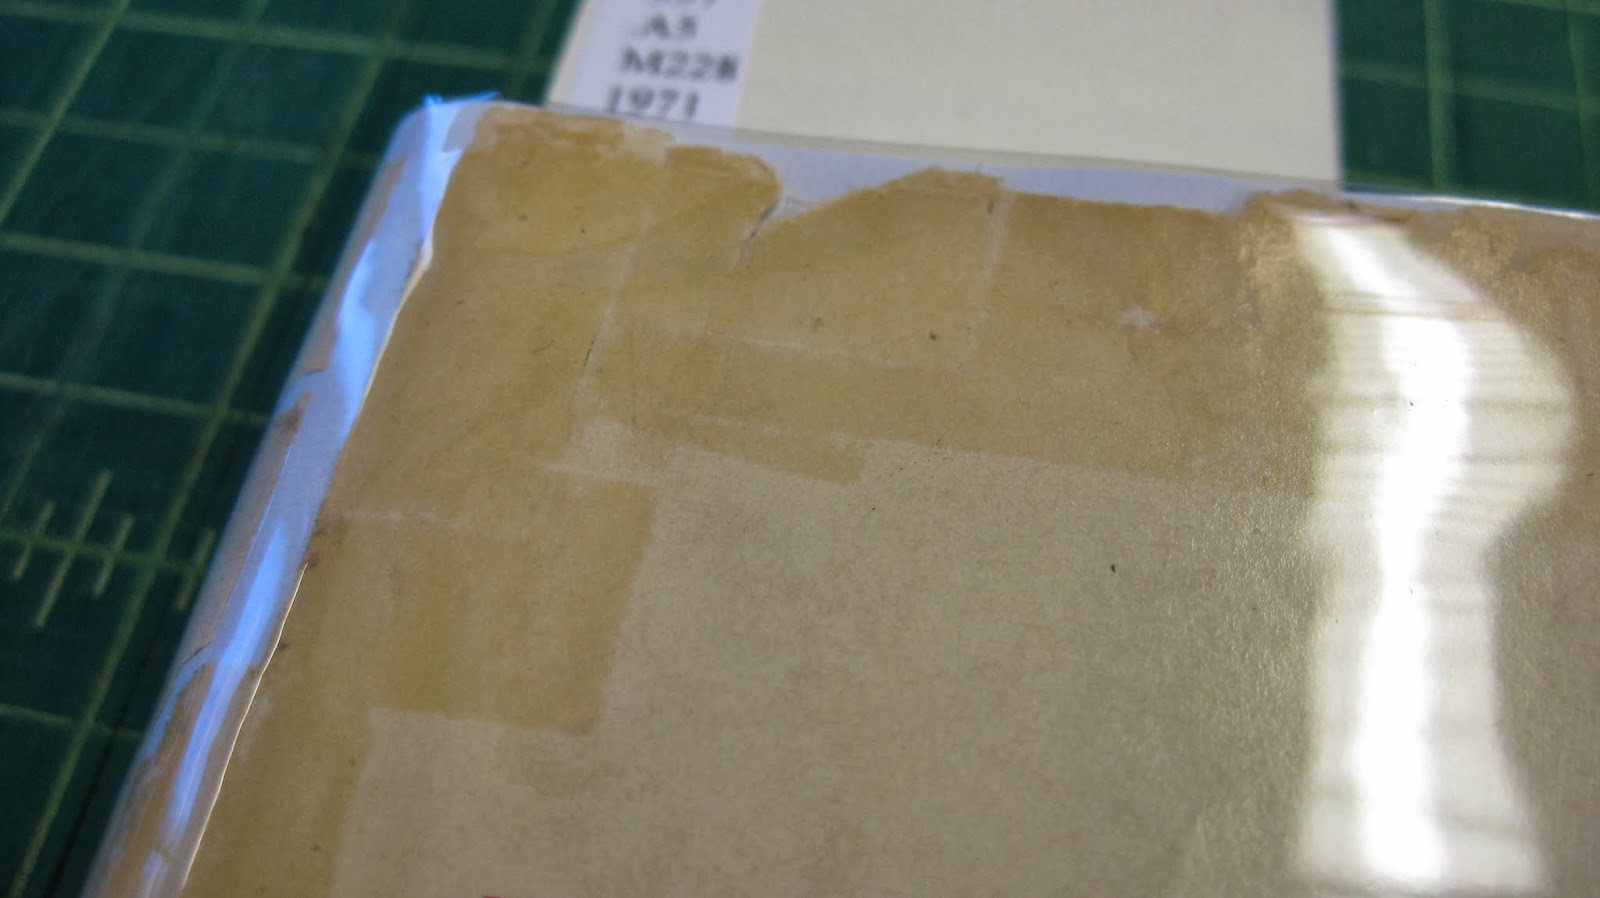
There are many books in our collection of Archimedes Patti's research materials. Many of those books have dust jackets and most of those dust jackets have been taped onto their respective books. This book especially won (lost?) the tape lottery. Every fold or scuff or scrape has been taped over. Even the back of the jacket had extra paper taped to it.
It took my microspatula, alcohol, a tacking iron, and all the patience I could muster to lift all of this tape, but in the end the tape was beat and the dust jacket got a new archival form of protection.

A whole new layer of terror

Monday, October 28, 2013

The Frame-up System - Japanese Tissue Repair

 I dedicate this post to how awesome Japanese tissue paper is. The cover of this leftist pamphlet from our Van Sickle collection was in taters (luckily no one had tried to tape it back together yet). After removing the rusty staples I was left with a gnarled cover in two, almost three, separate pieces. I carefully unfolded everything that was bunched together then mended all the tears from the back with Japanese tissue paper and wheat paste. The before and after results are below.


Before


After


Wednesday, October 16, 2013

DO NOT tape Faust into your Library book!


I don't care how cool and appropriate that nice leather book would look in your play, just don't do it. I'm lookin' at you, Gretchen! You may have been saved in the end, but who was there to save this book? Not you. It took me an entire hour to meticulously lift the scotch tape with an alcohol dipped micro spatula. Luckily the pages on this 1957 volume are clay coated which made the tape removal much easier than it could have been. Still, there is nothing to be done about the staining that has already set in from the adhesive.

Friday, May 18, 2012

Groom/Stick

Today at work in Special Collections I encountered Marbling: a history and a bibliography by Phoebe Jane Easton which had been a victim of a particularly vicious act of book on book violence. It had the extreme misfortune of being shelved next to a deteriorating leather book. As you can see, neither were wrapped in mylar and Marbling sustained extensive red rot staining on its cover.

Fortunately for Easton's book, the Acquisitions Department had just cleaned out a storage area and brought me a cart full of supplies to go through and keep if I wanted. In those supplies were two packages of Groom/Stick.

My first impression of Groom/Stick was that it must be some form of book torture that in one long gone day was thought to work. I did some research and found that instead it was supposed to be a revolutionary new cleaning material:

GROOM/STICK is a novel form of natural rubber with specific properties combining to create a surface dry-cleaner of high efficiency. The rubber's natural structure has been modified to make it permanently soft, kneadable and strongly tacky. Moisture, solvents and chemical additives have been excluded.

As a non-abrasive, non-staining cleaner of paper and other library materials, Groom/stick gently but positively picks up a wide range of foreign matter. Graphite, carbon, charcoal, chalk, crayon, dry powder colours, mould spores, dust, dirt and grease are cleanly lifted off the surface and held in a 'molecular trap' from which there is no escape!

The process is fast and smear-free. It is demonstrated by lightly rolling a Groom/stick 'cigar' across a freshly-printed newspaper. Excess print ink is removed instantly - without blurring the print or soiling adjacent clean areas. Ordinary solid or granular rubber/resin erasers abrade, smudge, crumble or produce clinging debris. Groom/stick sacrifices nothing of itself, leaves no dirty fragments to brush away (or mould spores to regenerate in concealed areas) and is always ready and clean to use.


 I decided to give it a shot and the results were earily exactly what the promotional material said they would be. While I didn't find rolling the material into a cigar a very easy endeavor (my lump looks more like a creepy alien-esque cacoon), I did find that the surface dirt it grabbed would never escape from it's plasticky grave. Here it is covered in red rot powder and none of it is transfering to my hands or any other part of the book. In fact, it was cleaning me. I could see it, while still covered in powder, taking all the oil that I didn't know I had off my fingertips.

Groom/Stick is my miracle item of the week. Enjoy these before and after photos:


Friday, January 13, 2012

Removing... *sigh* Chocolate

 What's that on this book? Is it a crayon? Is it poop?! No! It's CHOCOLATE! Because who doesn't love a sweet treat when perusing some Dolce and Gabbana fashion. This is a rare instance where I fixed up a book from our general, circulating collection - hence the chocolate. Just a bit of careful scraping with the micro-spatula and a final pass with a soft eraser.


Saturday, January 7, 2012

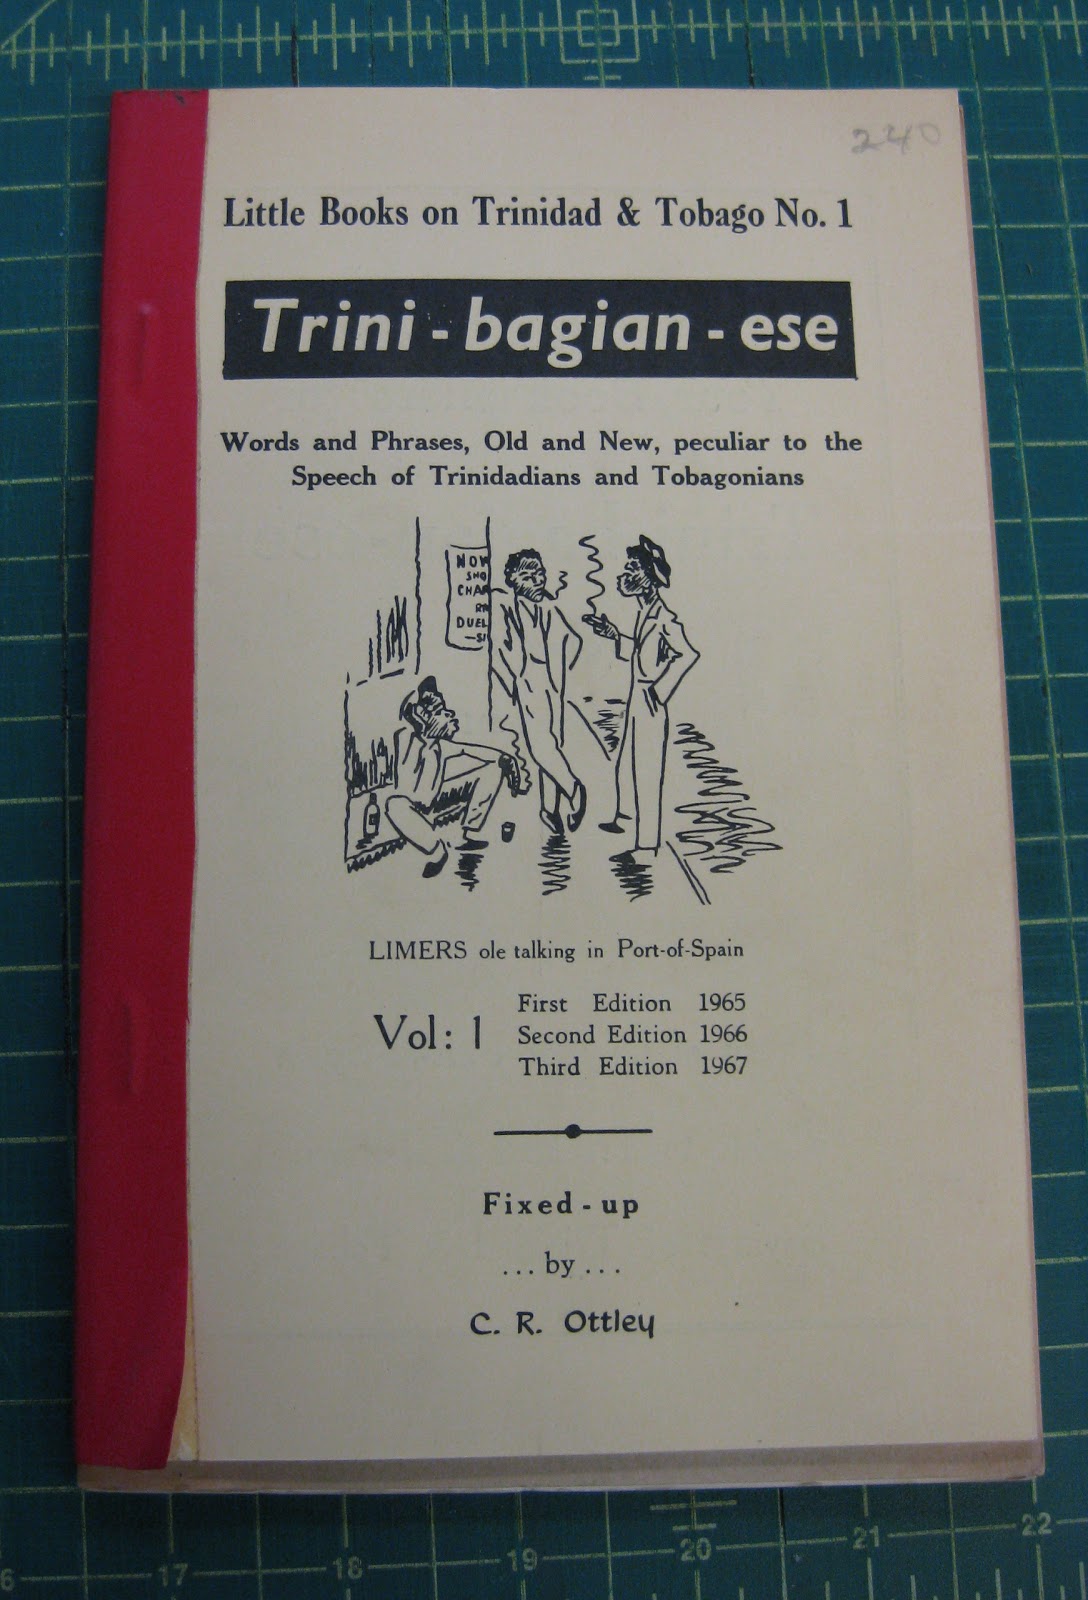
Trini-bagian-ese

You may or may not be aware of my day job as the Book Conservator for the Special Collections and University Archives for the University of Central Florida Libraries. I also do private book repair and after all the horrible do-it-yourself fixes I've seen I feel the need to present this post as a public service announcement about not using staples or tape on your books.

We have a large amount of pamphlets held together by rusty staples that need removing, but I thought these (this?) little pamphlets were in need of documentation because of the... unique way they have been joined together. It is (they are?) three stapled pamphlets that have been stapled to each other and then taped together with some specialty bookbinding tape which is more like electrical tape than anything that should come in contact with a book.


The first order of business is to remove the the horrid red tape that is acting as a spine in this Frankenstien creation....


Heat is applied to the tape with a tacking iron. Heat will usually reactivate the adhesive of the tape, or if you would like to use proper terminology it reactivates the gooiness. However there are cases where heat will just cause the tape to dig its nasty little claws in deeper, so one should always test the waters carefully before removing tape with a tacking iron.


Using a metal micro spatula dipped in rubbing alcohol the tape is slowly lifted

Look at that progress!


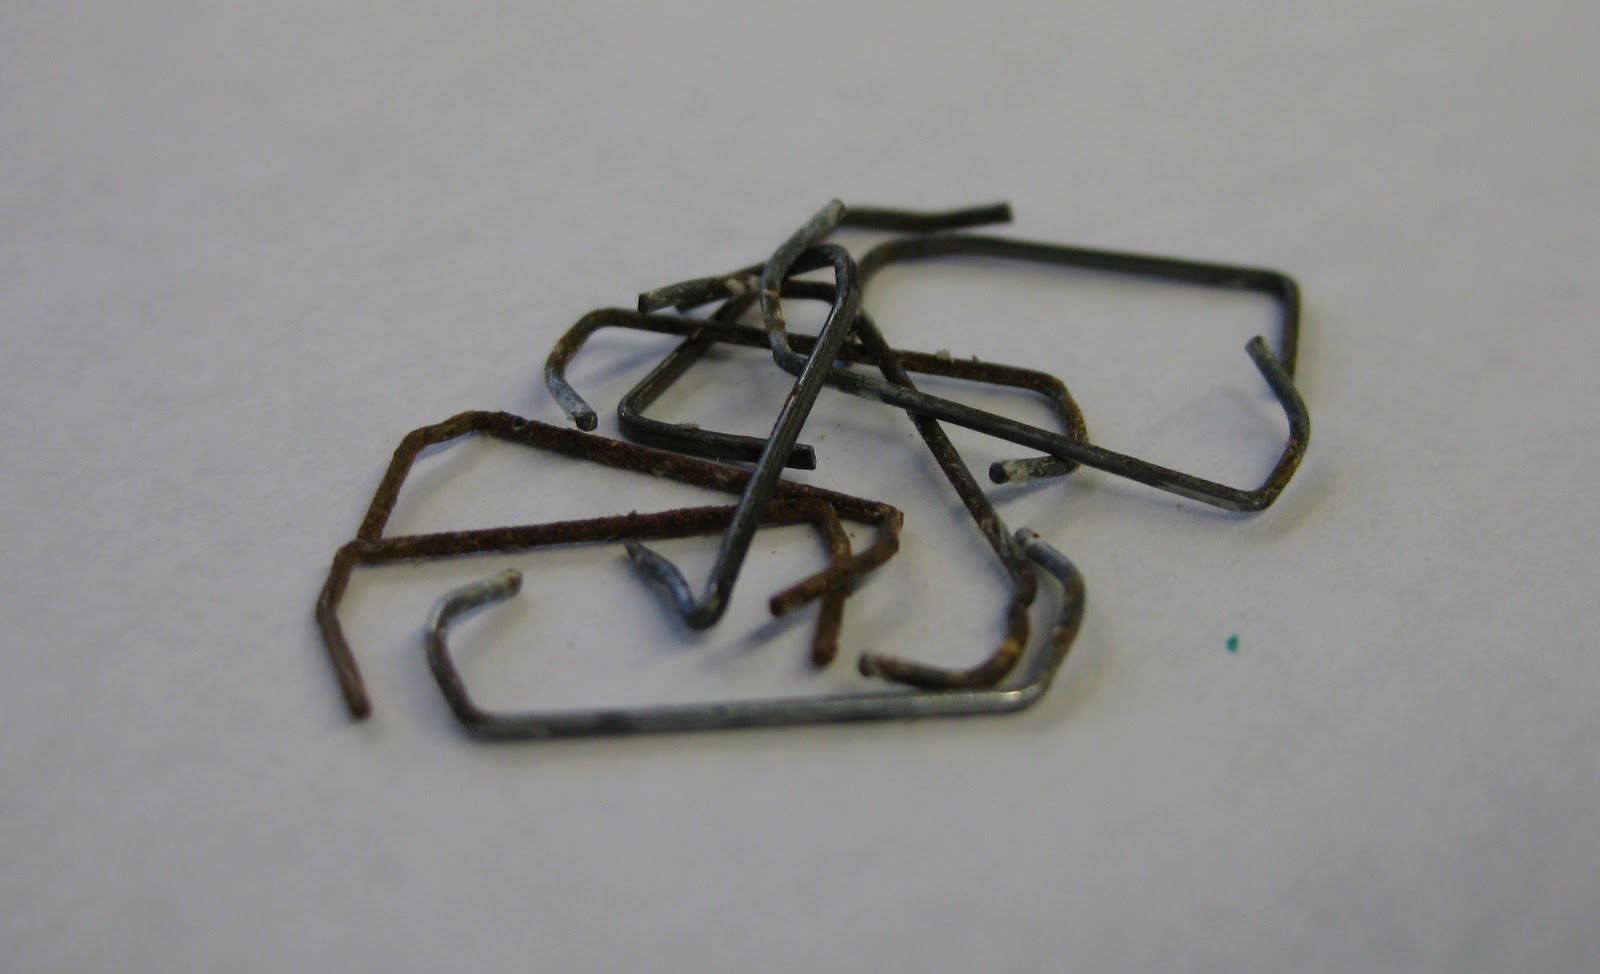
Now that the tape is removed you can see where the three pamphlets have been stapled together. The two staples near the spine only go through a pamphlet and a half. There is another set of staples on the back side leaving these helpless pamphlets in a carnivorous jaw of four ruthless staples.

The tape may be gone but some of the tackiness has remained. To remove the sticky I use a soft white eraser, specifically MagicRub, and gently rub the surface. This rolls up all the tape goo in with the eraser poop (ask your mom if you don't understand) and the leavings can be easily brushed away. Once the sticky spine was returned to a satin finish I removed the four staples that held the pamphlets together. This proved to be a Chinese finger trap of sorts since I could not get at the end of the front staples until the back ones were removed and vice versa. After some contorting however, the pamphlets were free for the first time since... probably the 70s.


Now on to the two staples for each individual pamphlet.
The two photos below illustrate how harmful staples can be. The left shows the rusty staple and the effect it has had on the paper. To the right is the page next to the staple showing how deep the rust has permeated the paper. 


The micro spatula returns, this time sans alcohol, to lift the staple prongs on the inside and then carefully wiggle the staple out the back.

Once the staples are removed new "cloth staples" need to be sewn in to hold the pamphlet together. Here I am using some safe linen thread. The pictures below show the substitution- the pamphlets will never know the difference!


Here they are- separated and free of their rusty shackles. After some paper work they were let loose in the stacks where they now graze freely with their fellow pamphlets; a new and happy life.